Bluetooth Car
Submitted By : Tiyas Das(Department of BCA, Batch:2016-2019)
Introduction with robotics:-
With growing developments in field of mechatronics and mathematics modeling, robotics has come to long way. From an iron piece that could move only a few inches, there are now machines capable of jumping from high-rise building, detecting landmines, performing operations and troubleshooting.
Meaning of robotics:- “Robotics is a programmable, multifunctional manipulator designed to move material, parts, tools or specialized device through various programmed motions for the performance of a variety of task”.
Robotics means the study and application of robot technology.
Robotics is a branch of engineering that involves conception, design, manufacture, and operation of machines assigned for specific high precision and repetitive tasks. [1]
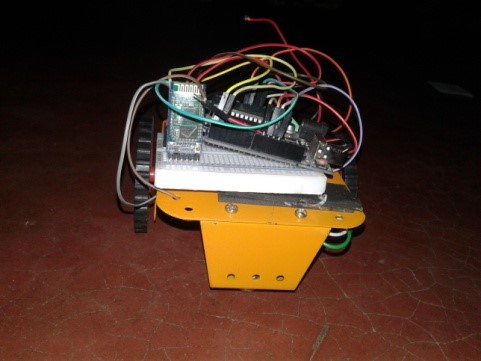
Bluetooth car making:-
There are various types robot. Bluetooth car is one of them.
Steps of Bluetooth car making:-
For making a Bluetooth car we needs some tools:-
- Car chassis
- Two 12v motors
- Two wheels
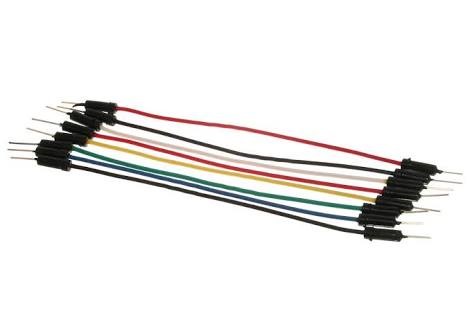
- Jumper wire
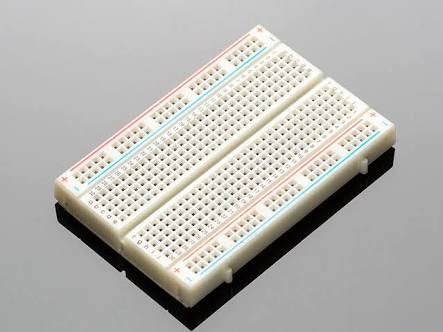
- Breadboard
- Arduino Uno
- Bluetooth Module
- L293D motor driver
- Smart Phone
- Two Solar Panel(12v)
At first we fit the motor and wheels in chassis. Then connect motors with motor drivers.
Datasheet of l293d ic:-
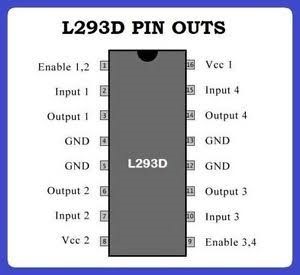
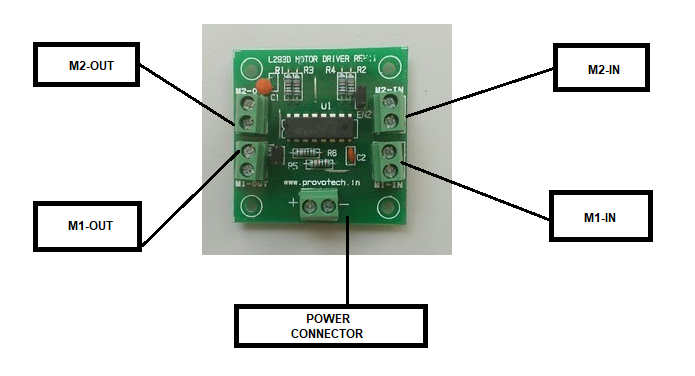
MOTOR DRIVER:-
1st motor’s two wires connect to M1-OUT pins of motor driver and 2nd motor’s two connect to M2-OUT pins. Then the power connector of motor driver connect to one battery, positive wire of battery connect to positive pin of motor and negative wire of battery connect to negative pin of motor.
One side of M2-In of motor driver controls M2 motor in reverse and one side controls in forward and one side of M1-In of motor driver controls M2 motor in reverse and one side controls in forward.
I connect the yellow jumper wire with M1 motor’s forward pin to 9th pin of arduino, the red jumper wire with M1 motor’s reverse pin to 10th pin of arduino, the white jumper wire with M2 motor reverse pin to 11th pin of arduino and the violet jumper wire with M2 motor’s forward pin to 12th pin of arduino.
Then we connect the Bluetooth with arduino board using breadboard.
BreadBoard:
BLUETOOTH
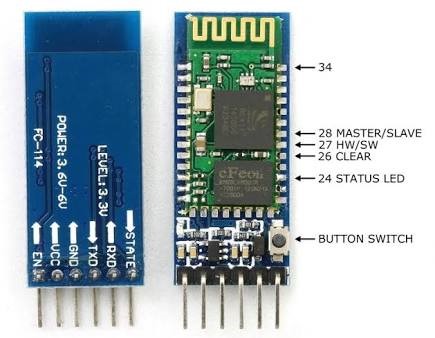
The ‘Rx’ pin of Bluetooth module with ‘Tx’ pin of arduino board & ‘Tx’ pin of Bluetooth module with ‘Rx’ pin of arduino board & ‘+5ve’ pin of Bluetooth module to ‘5v’ pin of arduino board & ‘GND’ pin of Bluetooth module to ‘GND’ pin of arduino board.
Then create a program for input.
The code is:-
“
define m11 12
#define m12 11
#define m21 9
#define m22 10
void forward()
{
digitalWrite(m11,HIGH);
digitalWrite(m12,LOW);
digitalWrite(m21,HIGH);
digitalWrite(m22,LOW);
}
void right()
{
digitalWrite(m11,LOW);
digitalWrite(m12,HIGH);
digitalWrite(m21,HIGH);
digitalWrite(m22,LOW);
}
void backward()
{
digitalWrite(m11,LOW);
digitalWrite(m12,HIGH);
digitalWrite(m21,LOW);
digitalWrite(m22,HIGH);
}
void left()
{
digitalWrite(m11,HIGH);
digitalWrite(m12,LOW);
digitalWrite(m21,LOW);
digitalWrite(m22,HIGH);
}
void stop()
{
digitalWrite(m11,LOW);
digitalWrite(m12,LOW);
digitalWrite(m21,LOW);
digitalWrite(m22,LOW);
}
void setup()
{
Serial.begin(9600);
pinMode(m11,OUTPUT);
pinMode(m12,OUTPUT);
pinMode(m21,OUTPUT);
pinMode(m21,OUTPUT);
}
void loop()
{
while(Serial.available())
{
char data=Serial.read();
if(data=='1')//forward
{Serial.println("Forward");
forward();
}
else if(data=='2')//Left
{Serial.println("Left");
left();
}
else if(data=='3')//right
{Serial.println("Right");
right();
}
else if(data=='4')//backward
{Serial.println("Backward");
backward();
}
if(data=='5')//stop
{Serial.println("Stop");
stop();
}
}
}
Arduino Uno
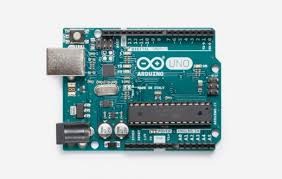
Then transfer the code into the Arduino Board. Then the “GND” pin of Arduino board connect to the negative pin of battery and “Vin” pin connect to the positive pin of battery.
Now it is ready. At last download the “ArduinoRC” App from playstore and set the software according the program:-
1>>forward
2>>left
3>>right
4>>backward
5>>stop